*WARNING - This technique will not provide data security (only obscurity), so please don’t use it with your confidential data. Always use your Pro/Premium license to share confidential data.
Last week, I had published a Power BI contest where you had to solve some clues to unlock a hidden tab. The underlying technique was inspired from a community post but I used a totally different approach using the new Sync Slicers feature. In this post, I am going to show you the technique behind locking a tab with a password/code while using the Publish to Web feature in Power BI.
Before I start, I want to make sure that everyone understands some points clearly:-
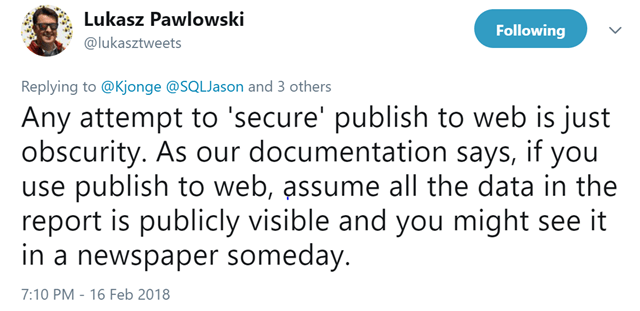
1) There is a reason I am mentioning this technique as “locking” and not “protecting”. This technique does not provide security, and Microsoft clearly states that you should not be publishing any confidential information using the Publish to Web feature. Even though it might look like it does the job from the outside, there could be a method unknown to us in which the code can be obtained or even worse, the entire data can be obtained. Lukasz (Power BI PM) summarizes it pretty well in the tweet below
2) If you want security, please buy a Pro license (or a Premium license depending on your consumer base), it costs less than 3 cups of coffee per person a month. And with new and more strict regulations like General Data Protection Regulation (GDPR) coming, the fines for non-compliance can run into tens of millions (if not more). Please remember that Power BI changes every month; a new feature or a change in the way it works currently can easily render this approach useless and you will not want your confidential data to be exposed to the whole world. The only intent of this post is to talk about this approach and see if it might inspire other creative approaches like the Power BI puzzle I created (and not to bypass any licensing restrictions).
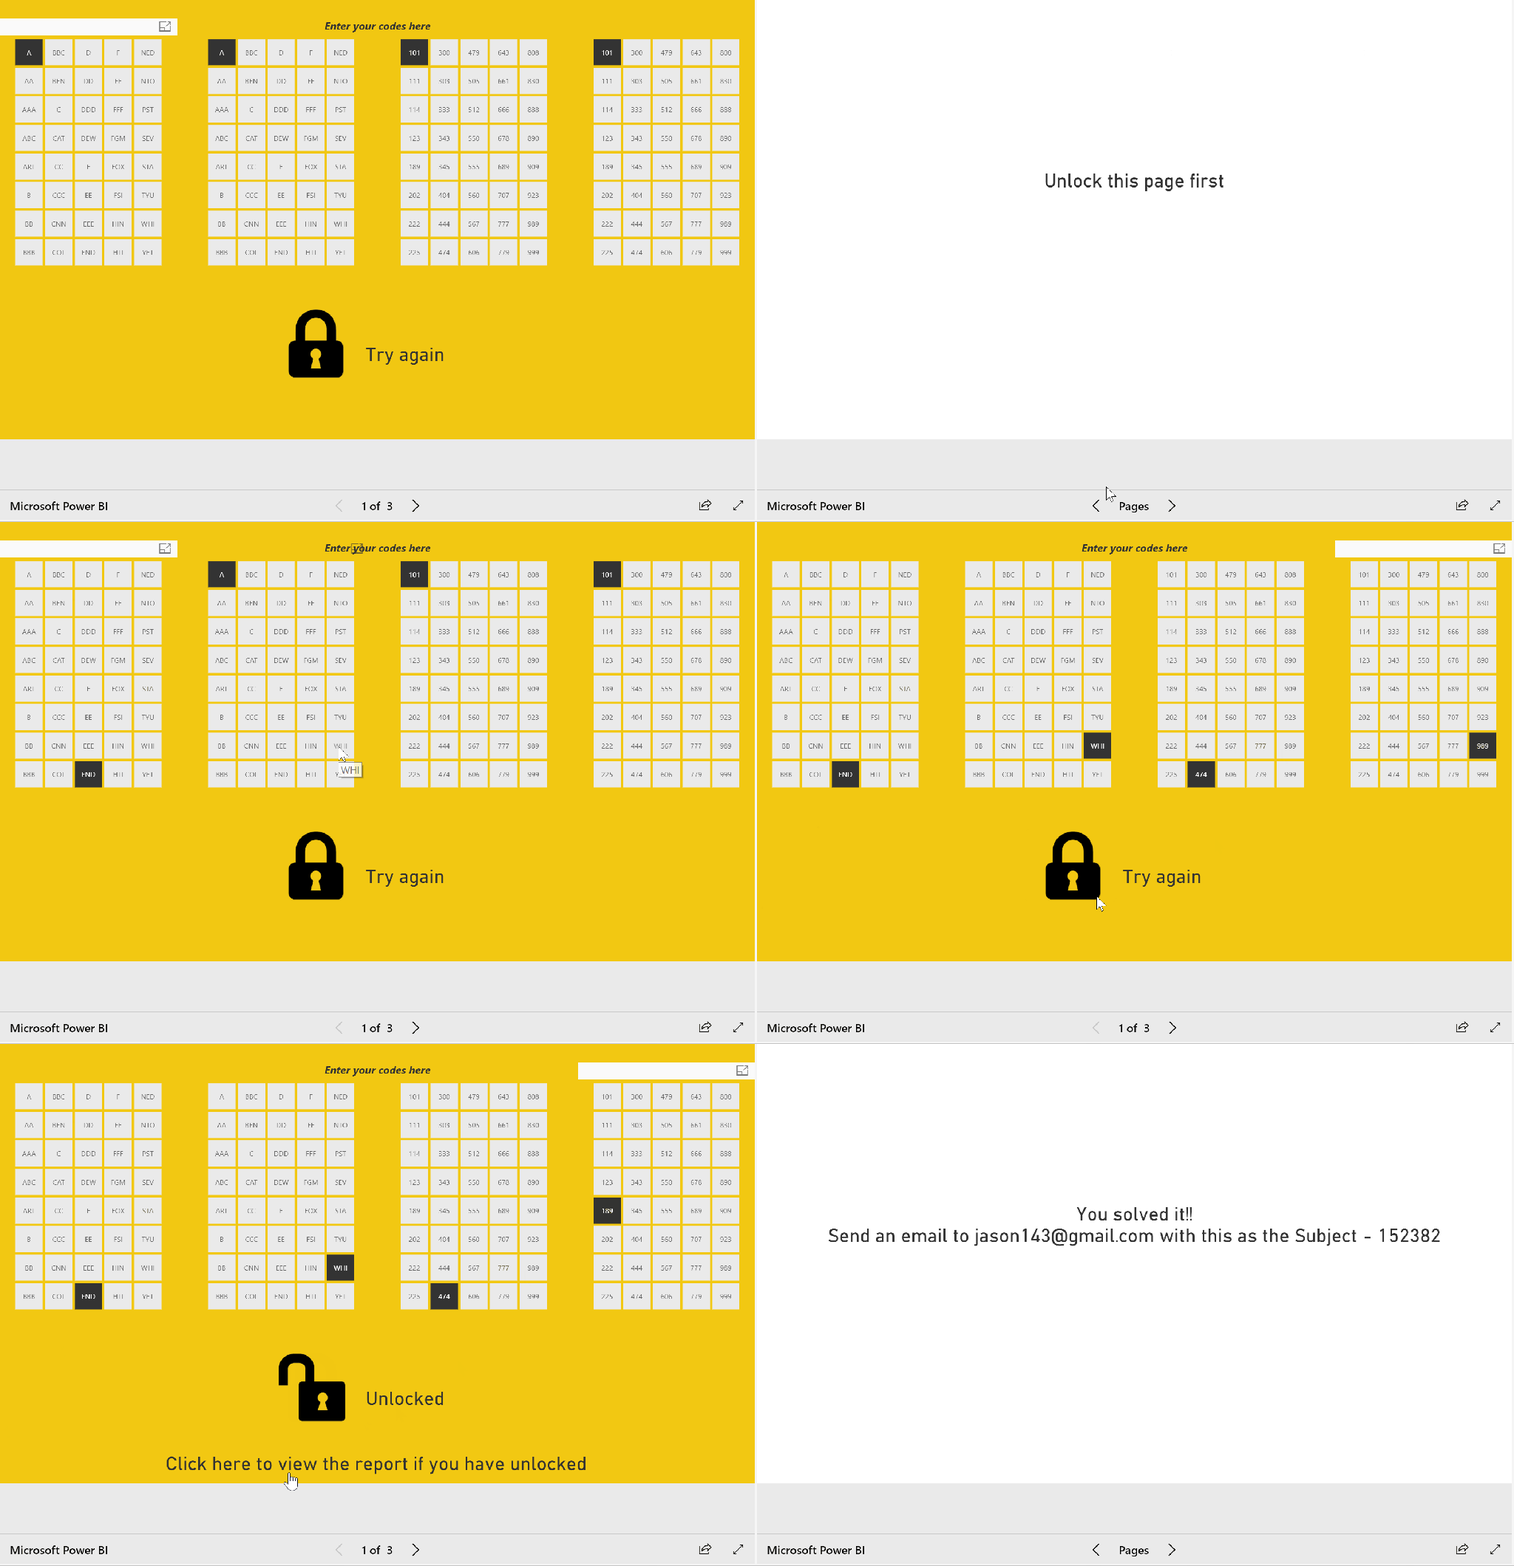
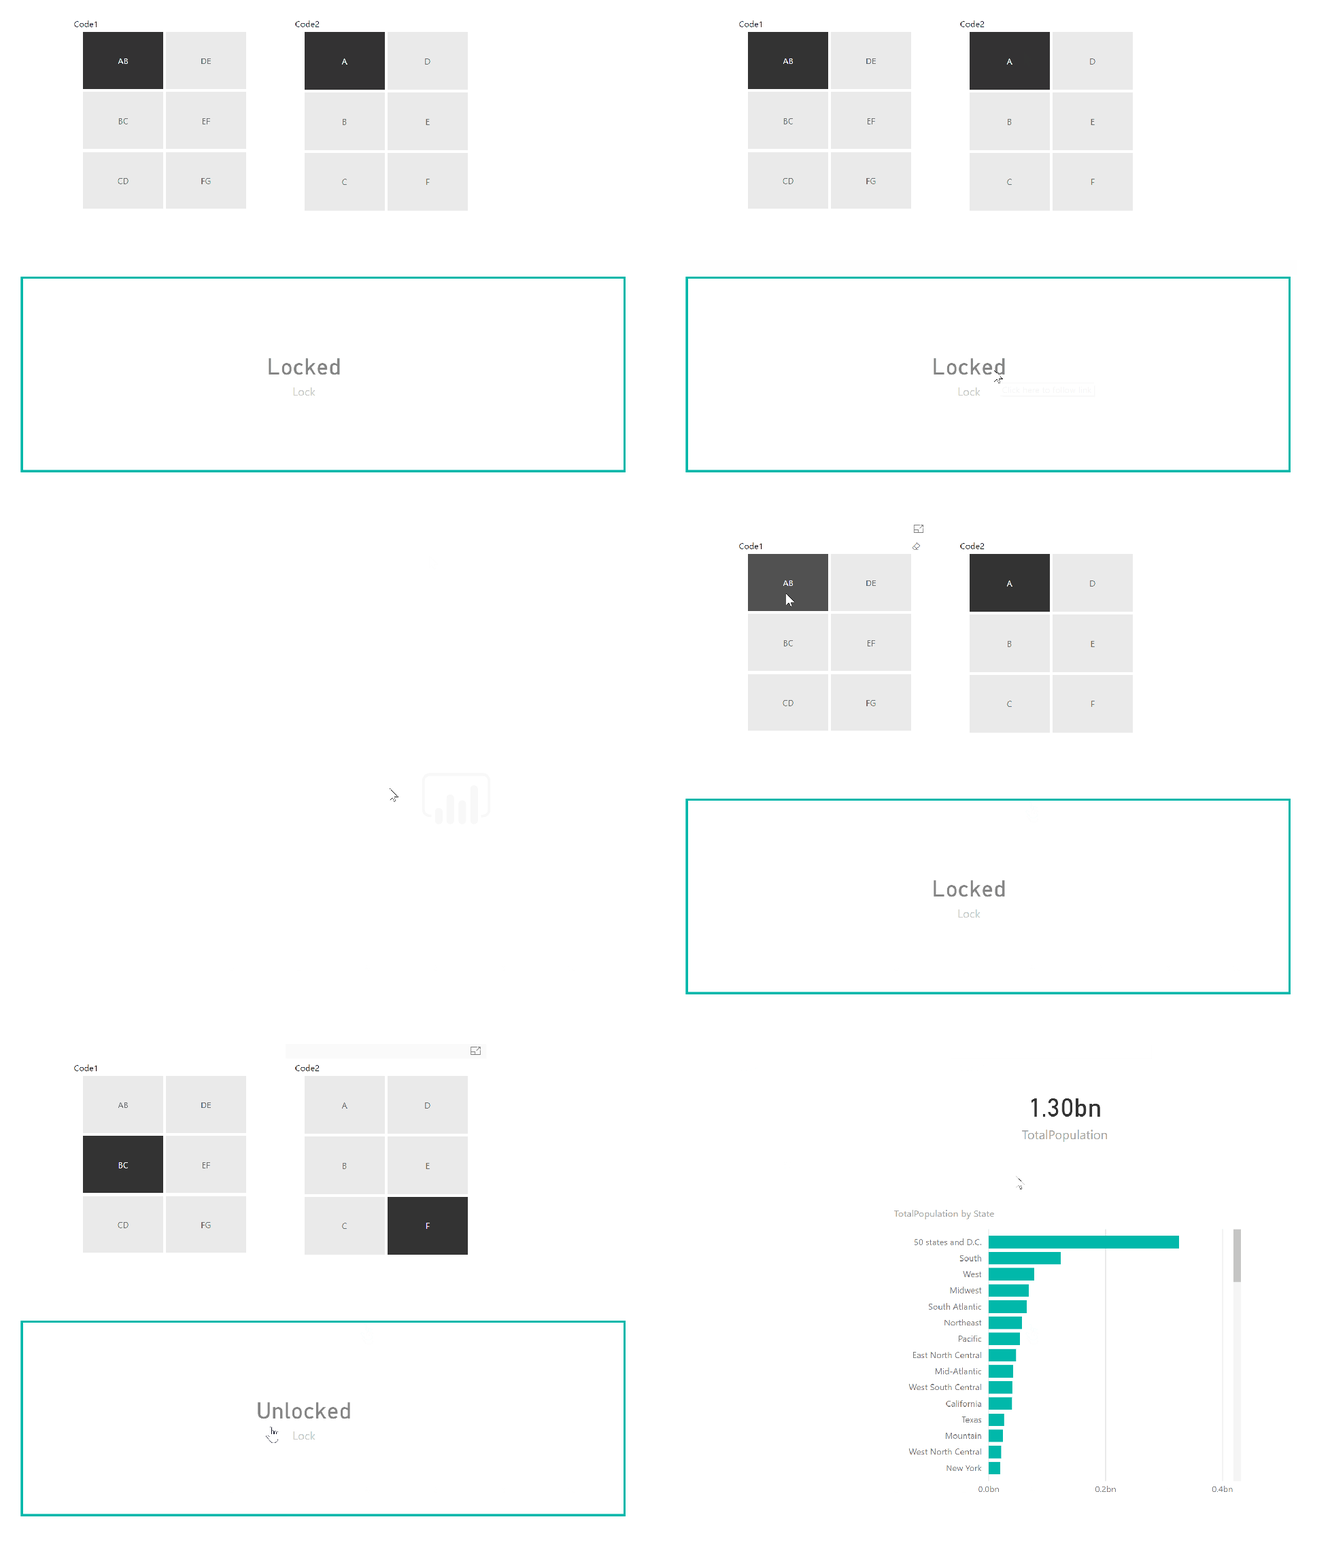
Now that everyone has read the warnings, let us get to the fun stuff. First, see how the codes were used in the puzzle to lock a hidden tab and how the hidden tab showed the right results when the correct code was selected.
To demonstrate this technique, I will create a simple report with only 2 codes, but you can easily expand this to multiple codes. Follow the steps below:-
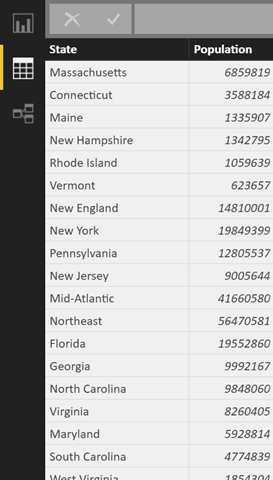
1) For the purpose of this demo, I just connected to Wikipedia and got the population by states.
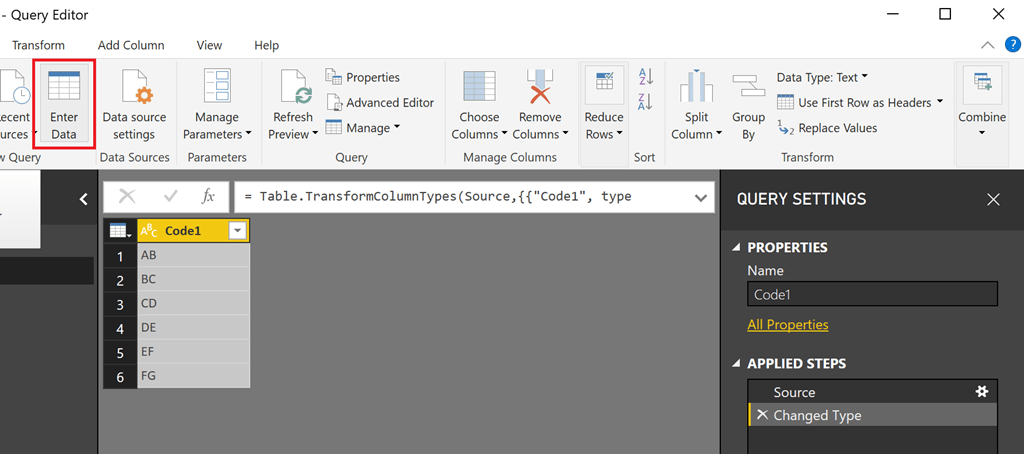
2) Along with that, I just entered data directly into the power bi file and created 2 code tables. The code tables will contain your codes and can be anything. To make it simple, I just made it as 2 letters as shown below.
The more entries you have and the more code tables you have, the larger your permutations and hence, the harder to crack your code.
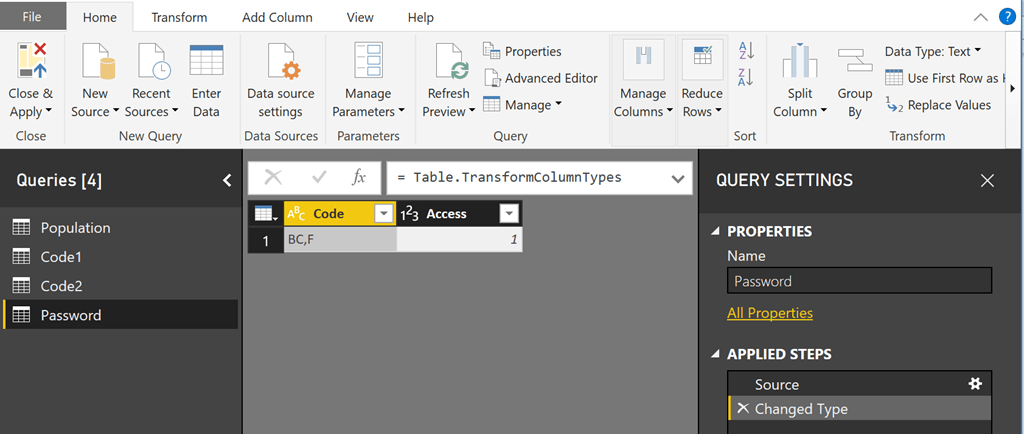
3) Create a password table with 2 columns – with one column as the correct code, and the other one as 1. This table will be used to check against the selected codes for a match with the help of a calculation.
4) Now that we have our code tables (Code1 and Code2), password table and the data table, let us proceed to the reporting canvas. Make a measure called Lock which will check if the selected values of Code1 and Code 2 match the password.
Lock =
VAR Code =
SELECTEDVALUE ( Code1[Code1] ) & “,”
& SELECTEDVALUE ( Code2[Code2] )
VAR Pswd =
CALCULATE ( FIRSTNONBLANK ( ‘Password'[Code], 1 ), ‘Password'[Access] = 1 )
RETURN
IF ( Code = Pswd, “Unlocked”, “Locked” )
5) Make another measure that will display the sum of the population only if the correct codes are entered.
TotalPopulation =
IF ( [Lock] = “Unlocked”, SUM ( ‘Population'[Population] ) )
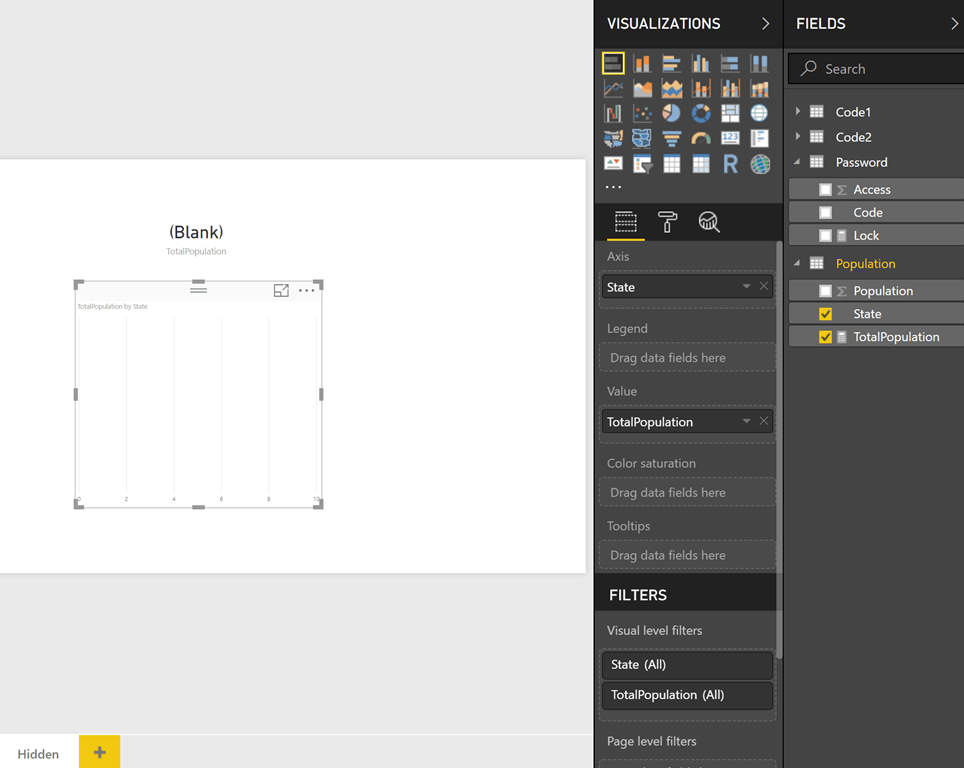
6) Now create a tab called Hidden. Use the new measure that we created in step 5 (Total Population) to create a bar chart by states and a card visual on the top. You will see that no data is displayed and that is because we haven’t selected any values for the Code tables (Code1 and Code2)
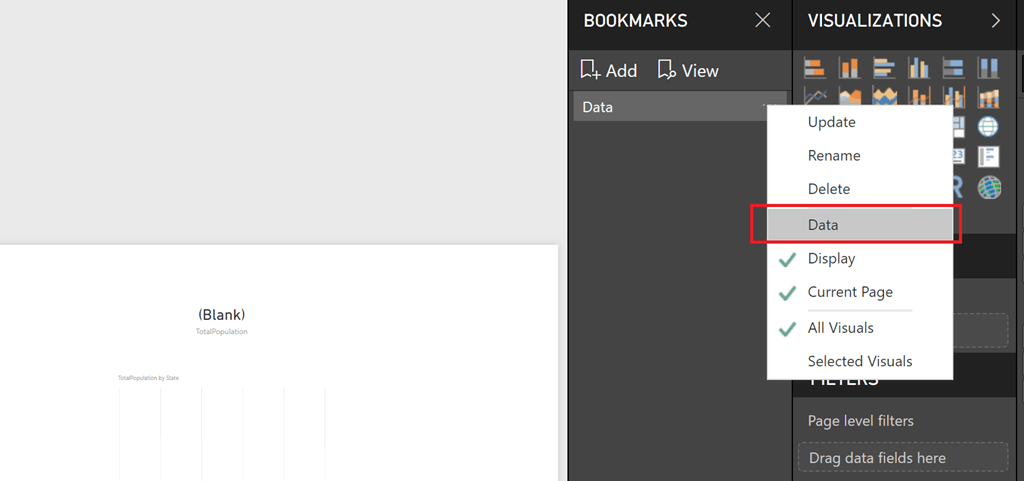
7) Create a bookmark with this view and rename it. Click on the three dots next to the bookmark, and makes sure that you uncheck the Data tab. This will ensure that the bookmark will respect any filters or slicers.
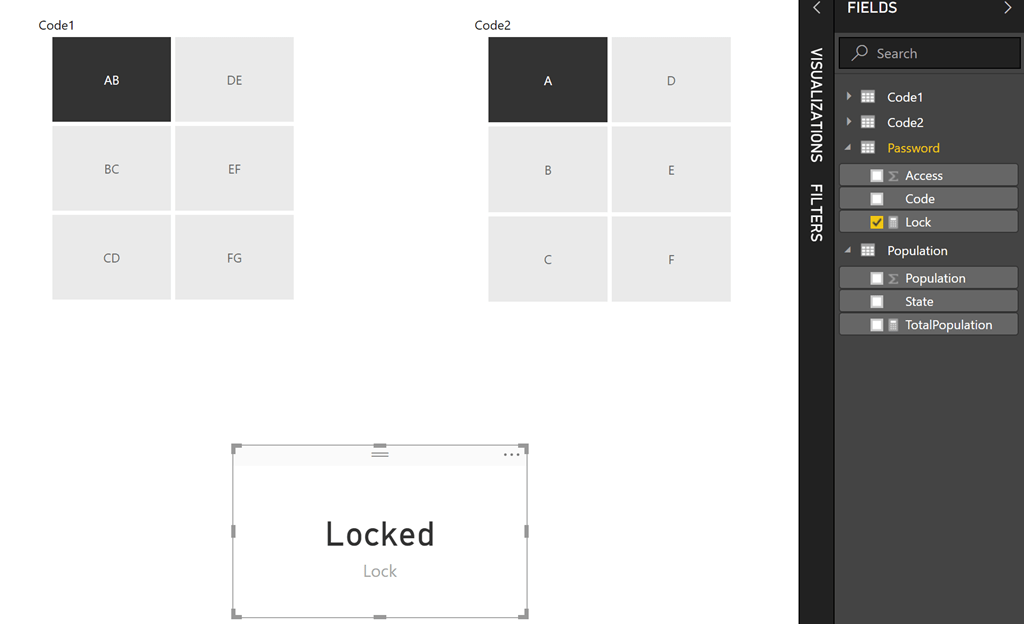
8) Now create a new page where you can display the Codes. Display Code1 and Code 2 as slicers. Also, display the Lock measure as a card visual.
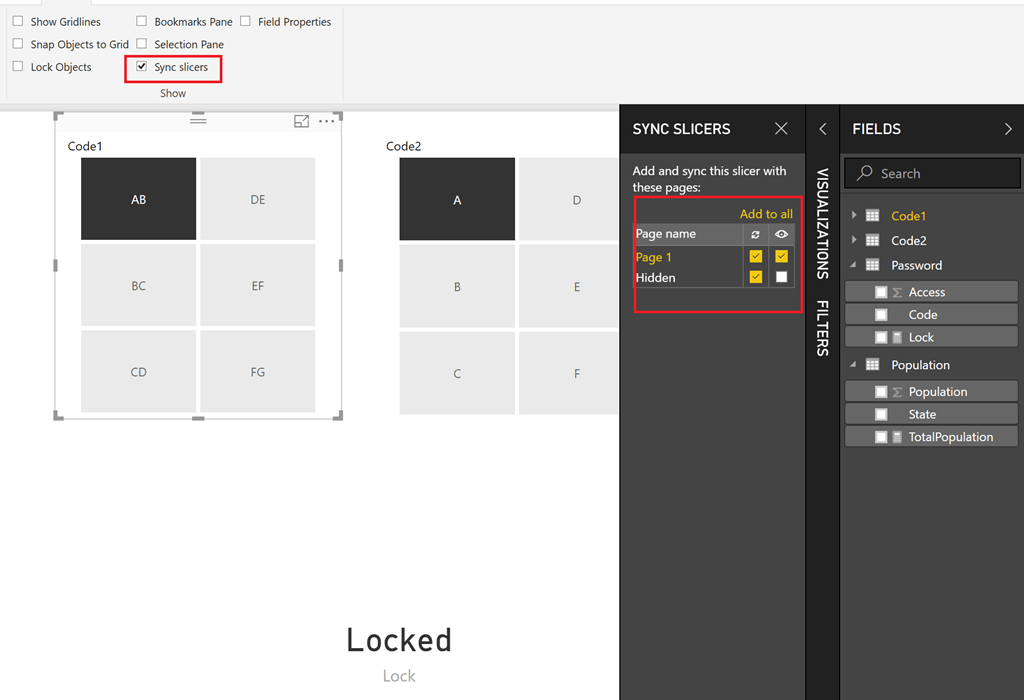
9) Sync both the slicers (Code1 and Code2) with the Hidden page. Make sure that the slicers are not visible in the Hidden page though. The selections are shown in the image below. By the end of this step, whatever codes you select in this page will also be passed to the Hidden page.
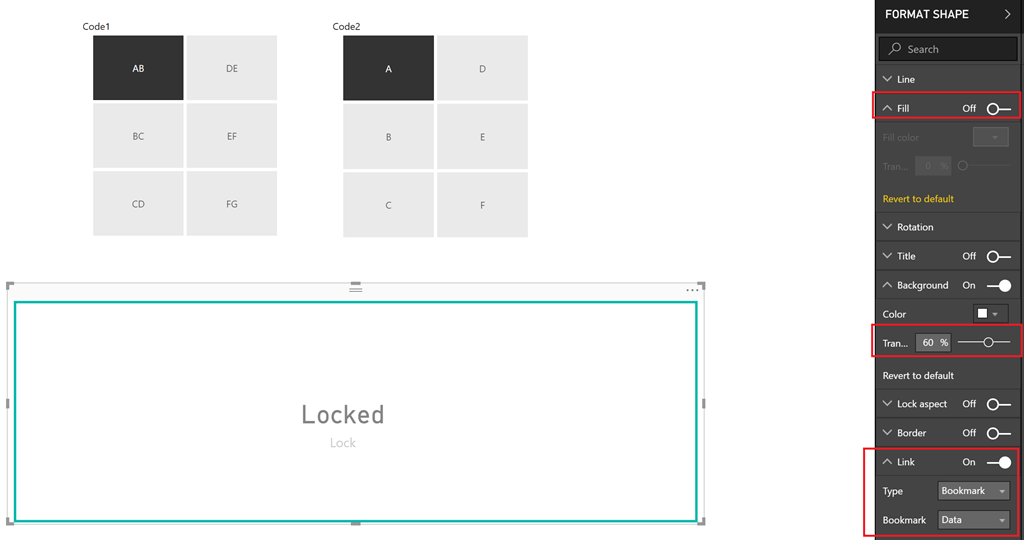
10) Now all that is left to do is to put a rectangular shape on top of the card visual (with some transparency), and add a link to the bookmark we created.
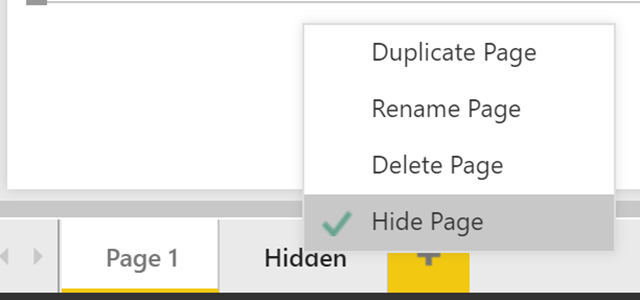
Also make sure to hide the Hidden tab.
11) Now we can publish this to Power BI, and then Publish to Web. See the end result in action below.
NOTE: For some reason, the initial password gets cached and exposed in the trace and this is another reason why you will not want to try this with your confidential data, and only use it for fun projects. That said, once I changed the password and republished it, the new password did not get exposed and it was still the old password that was getting exposed in the trace.


Superb Thinking , Nice work… Can u pls share me the pbix
If you don’t mind, can I have this pbix. It’s really nice one.